RabbitMQ
Description
RabbitMQ is a popular message broker system that operates using the AMQP (Advanced Message Queuing Protocol). It is used for asynchronous data exchange between different services in distributed systems.
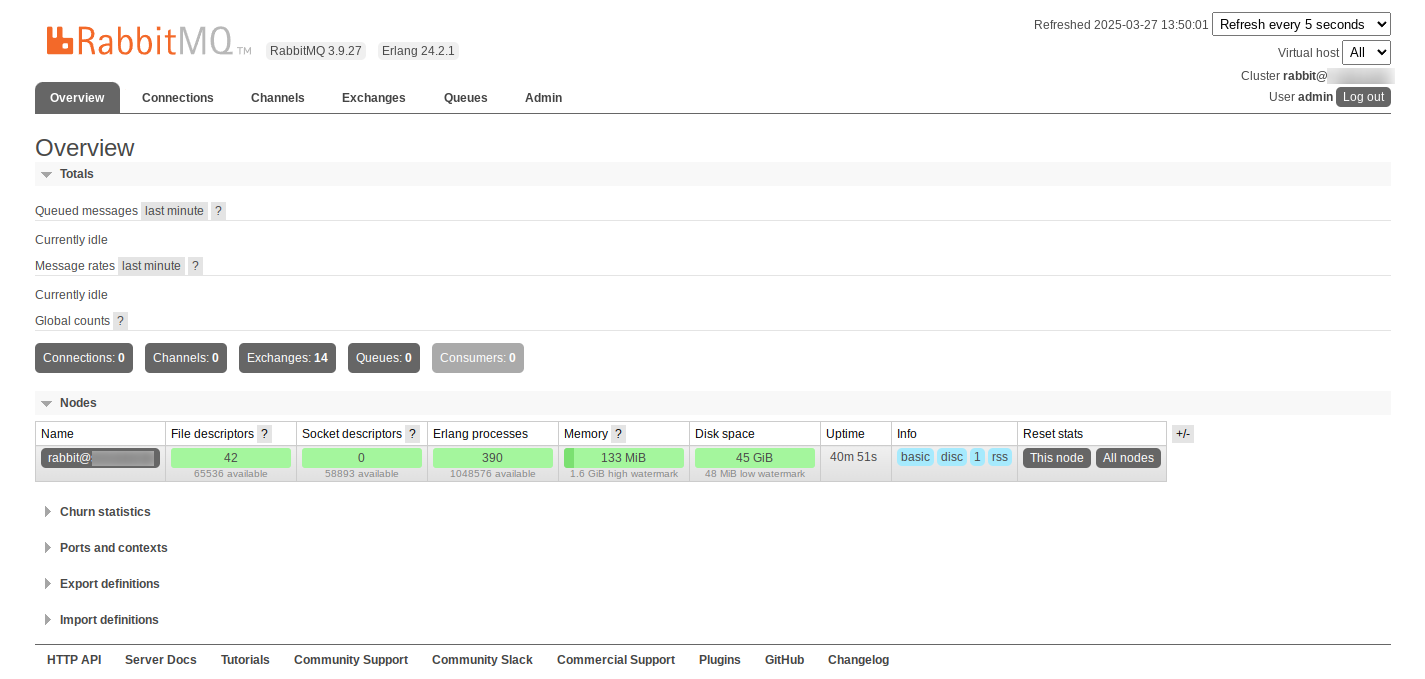
The RabbitMQ management plugin provides an HTTP-based API for management and monitoring of RabbitMQ nodes and clusters, along with a browser-based UI and a command line tool, rabbitmqadmin.
Getting Started
RabbitMQ is installed with an image and automatically starts when the server boots up.
After the image installation, the RabbitMQ web interface will be accessible at https://example.com:8080/, where example.com is your server’s hostname.
To access the web interface, use the credentials sent to you by email.
Additionally, the login credentials can be found on the server in the file:
/root/.app_credentials
To access this file, you will need to log in to the server via SSH. You can connect to the server via SSH:
- With an SSH key, if this option is enabled before a server is created
- With the
rootuser password sent by mail when server is activated
Changing domain
If you wish to use your own domain or subdomain to access the RabbitMQ web interface, you will need to log on to the server via SSH under the root user and run the command:
add_domain
You will be prompted to enter a domain or subdomain in the format subdomain.example.com.
Make sure your domain exists and is pointed to the IPv4 address of your server!
When the script finishes, a Let's Ecnrypt certificate will be issued for the specified domain or subdomain and the web-interface will be available at https://example.com:8080/, where example.com is the previously specified domain (subdomain).
Software installed
| Name | License |
|---|---|
| RabbitMQ | MPL 2.0 |
| Caddy | Apache License 2.0 |
Useful links
For more information about the installed packages, please refer to their official documentation: