Rocket.Chat
Description
Rocket.Chat is an open-source team communication platform. It offers chat, file sharing, video conferencing, and other collaboration features.
Getting Started
Rocket.Chat is installed with an image and automatically starts when the server boots up.
After the image installation, the Rocket.Chat web interface will be accessible at https://example.com/, where example.com is your server’s hostname.
To access the web interface, use the credentials sent to you by email.
Additionally, the login credentials can be found on the server in the file:
/root/.app_credentials
To access this file, you will need to log in to the server via SSH. You can connect to the server via SSH:
- With an SSH key, if this option is enabled before a server is created
- With the
rootuser password sent by mail when server is activated
Changing domain
If you wish to use your own domain or subdomain to access the Rocket.Chat web interface, you will need to log into the server via SSH as the root user and execute the command:
add_domain
You will be prompted to enter a domain or subdomain in the format subdomain.example.com.
Make sure that your domain exists and points to the IPv4 address of your server!
Once the command completes, a Let’s Encrypt certificate will be issued for the specified domain or subdomain, and the web interface will become accessible at https://example.com/, where example.com is the previously specified domain (subdomain).
When you first log in to the web interface, you will see a warning:
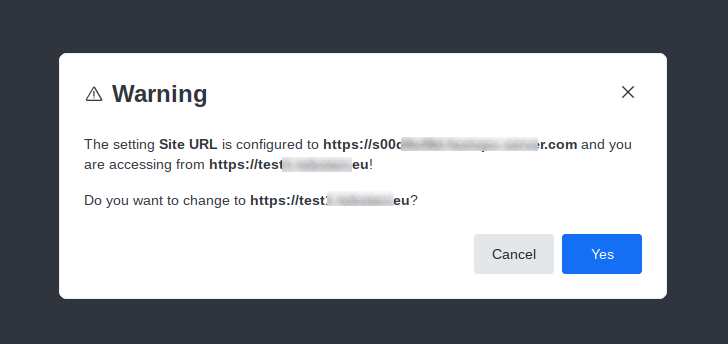
To continue, confirm the changes by pressing Yes.
Account Creation
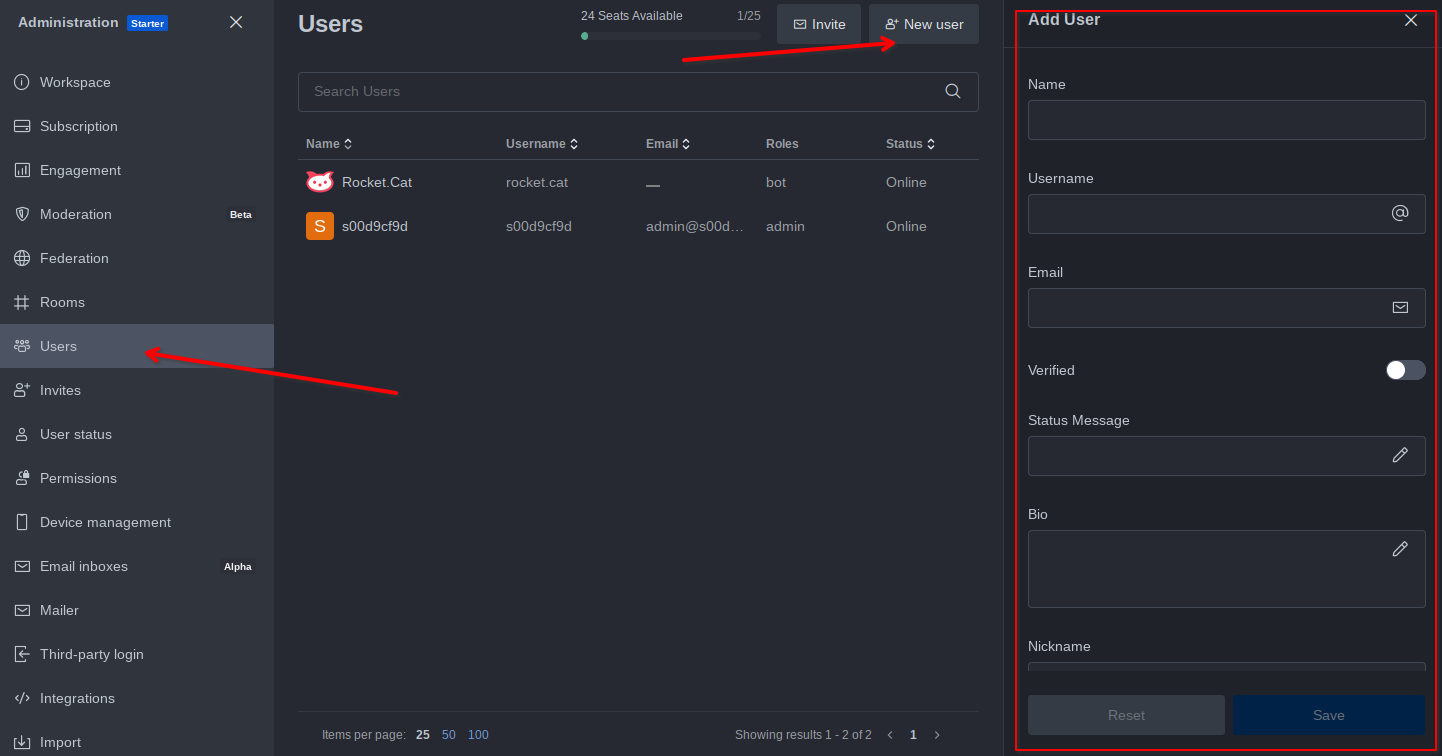
You can add a user account on the page https://example.com/admin/users by clicking on New User and filling in the required fields.
Self-service user registration
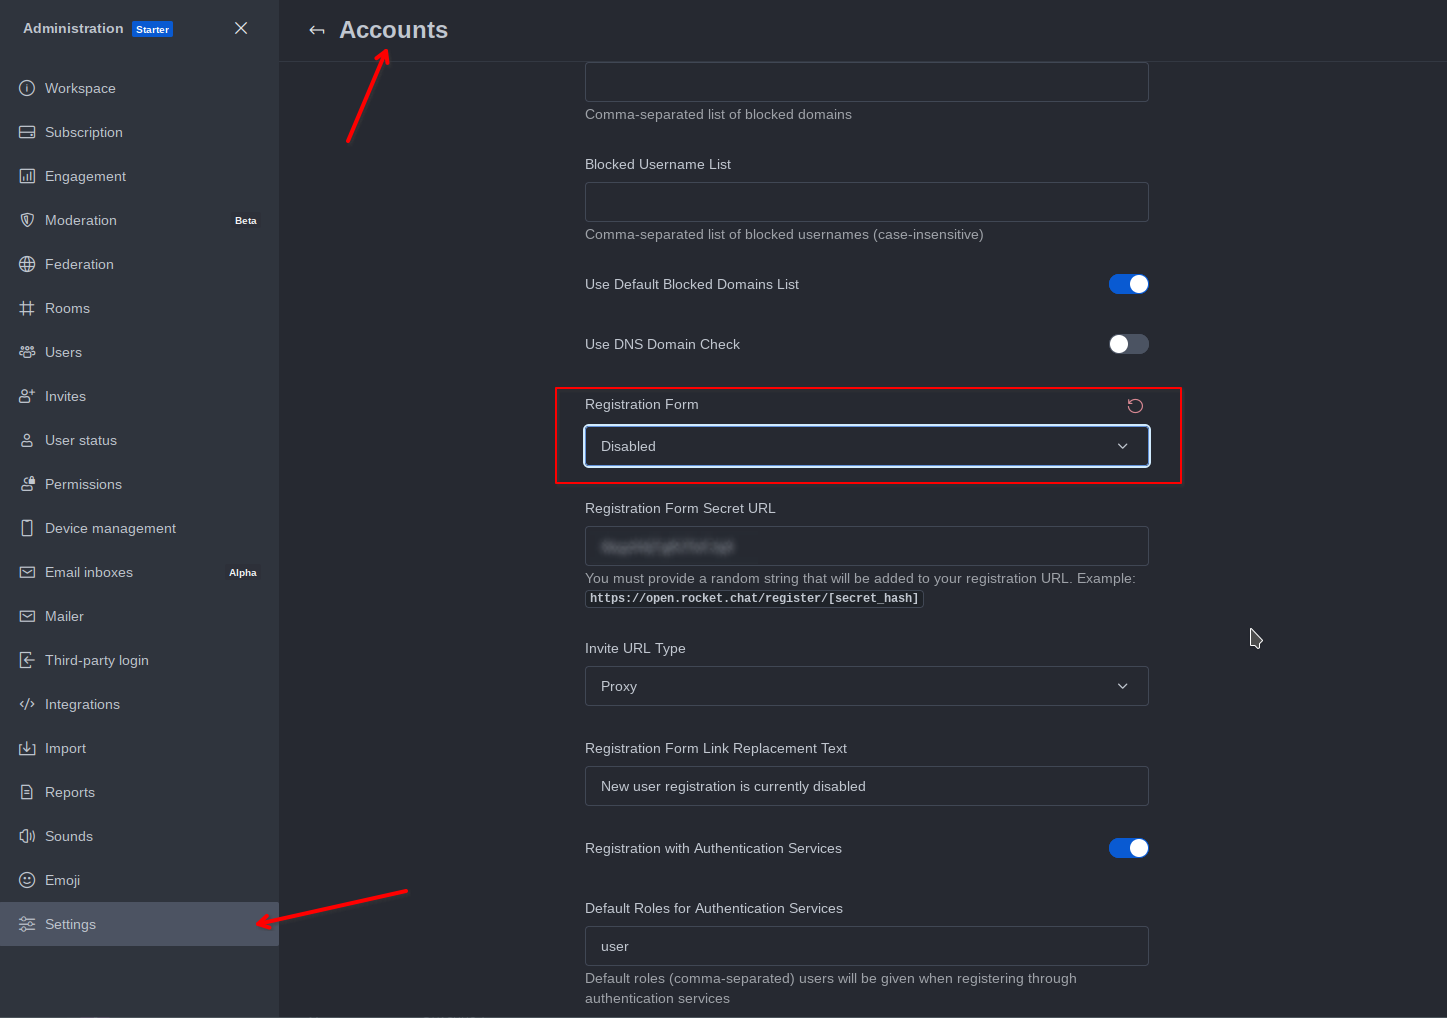
By default, registration through the web interface is prohibited in Rocket.Chat. If you wish to enable registration, you can do so in the administrative part at https://example.com/admin.
Go to the menu Settings -> Accounts -> Registration and change the value of the Registration Form parameter.
SMTP Configuration
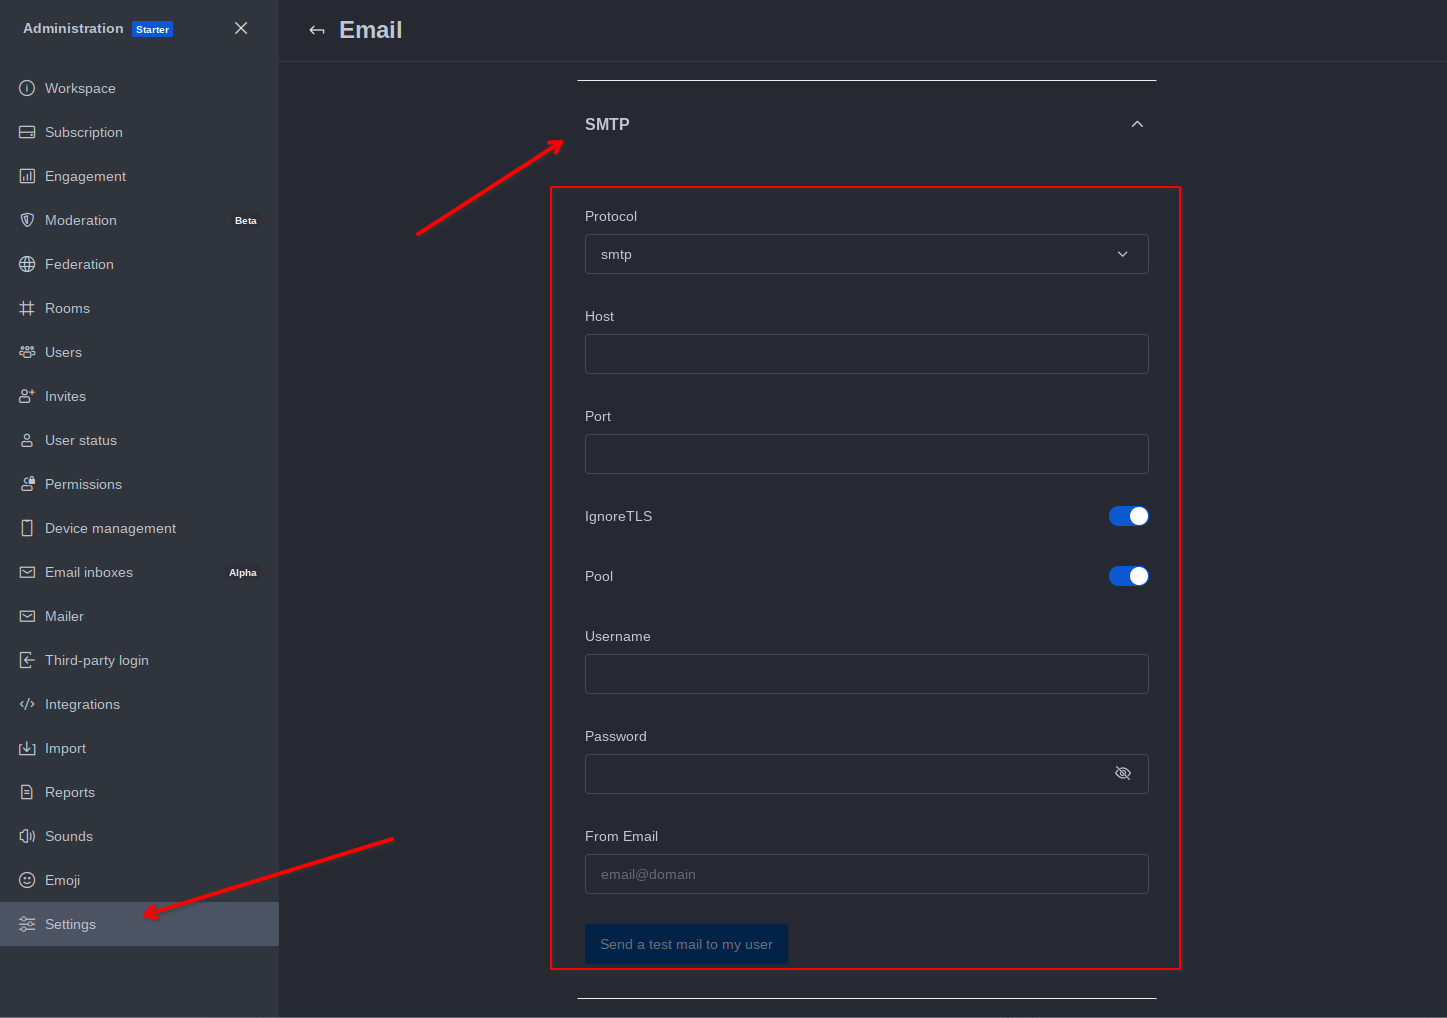
By default, Rocket.Chat cannot send mail, which means, for example, sending invitations or notifications from the service will not work. If you need to send emails from the service, you will need to set up sending through an external SMTP.
This can be done in the administrative part in the menu Settings -> Email -> SMTP.
A more detailed description of the settings is available on the page of the official documentation.
If you do not have an external SMTP, we recommend considering services such as:
Both services have free plans, the limits of which should be sufficient for use in Rocket.Chat.
Client Applications
In addition to the web interface, you can use applications for PCs and mobile devices to work with Rocket.Chat.
You can find a list of official applications here.
Installed Software
| Name | License |
|---|---|
| Rocket.Chat | MIT License |
| Caddy | Apache License 2.0 |
Useful Links
For more information about the installed packages, please refer to their official documentation: